Learn how to transfer data from MacBook Air to MacBook Pro easily with methods like Migration Assistant, AirDrop, and AnyViewer. AnyViewer is a great choice for transferring files remotely, ensuring a smooth and secure process.
Can you transfer data from MacBook to MacBook? Transferring data between two MacBooks is a straightforward process. Whether you're upgrading to a new MacBook Pro or just need to transfer files from your MacBook Air, this guide will take you through the process. Depending on whether the Macs are connected via Wi-Fi or over the internet, you can select the most suitable method. Follow these straightforward steps to efficiently move your data between devices.
If you need to transfer data between two Macs over a Wi-Fi connection, you can choose from any of the following four methods.
Migration Assistant is a built-in feature on Mac that simplifies the process of migrating all data between two Macs. With just a few clicks, you can move your files, applications, user accounts, and settings.
How to transfer all data from MacBook Air to MacBook Pro using Migration Assistant:
Step 1. Ensure both your Macs are running the latest version of macOS for the best transfer experience. If possible, update them before starting the migration. This will allow you to transfer everything, including apps and files, from the old Mac to the new one.
Step 2. Make sure both devices are connected to Wi-Fi. If one Mac is running macOS El Capitan or an earlier version, both Macs need to be on the same network. For newer versions of macOS, this isn't necessary.
Step 3. Turn off any antivirus software, firewalls, or VPNs that may block the migration process. You can re-enable them after the transfer is complete.
Step 4. On your MacBook Pro, navigate to Finder > Applications > Utilities and open Migration Assistant. Alternatively, use Spotlight search to find and open the app. Once open, click Continue. You may be asked to enter your admin password and confirm the app's permission to make changes.
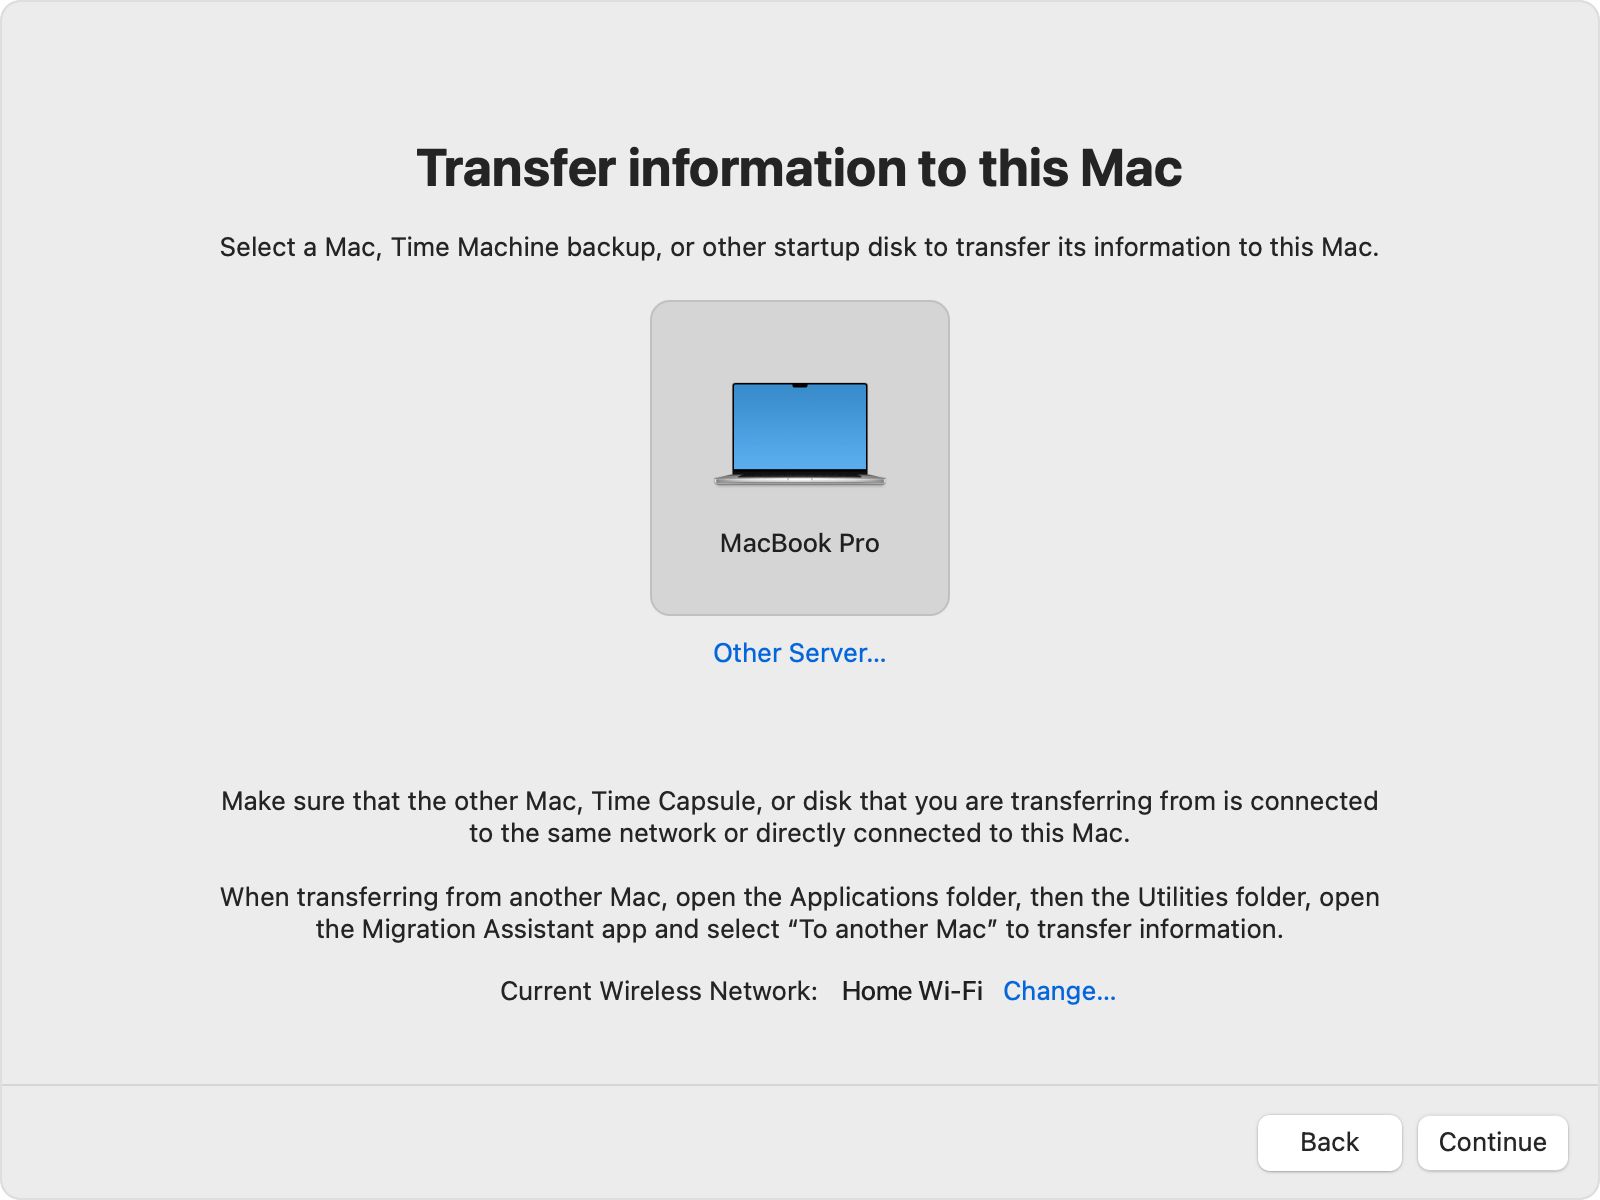
Step 5. When prompted, select "From a Mac, Time Machine backup, or Startup disk," then click Continue.
Step 6.Open Migration Assistant on your MacBook Air. Click Continue, and allow the app to make changes if asked.
Step 7. On the next screen, choose the option to transfer data to another Mac. Click Continue.
Step 8. Return to your MacBook Pro, where your MacBook Air should appear in the Migration Assistant window. Select it and click Continue.
Step 9. Check your MacBook Air for a security code and ensure it matches the code displayed on your MacBook Pro. Once confirmed, click Continue.
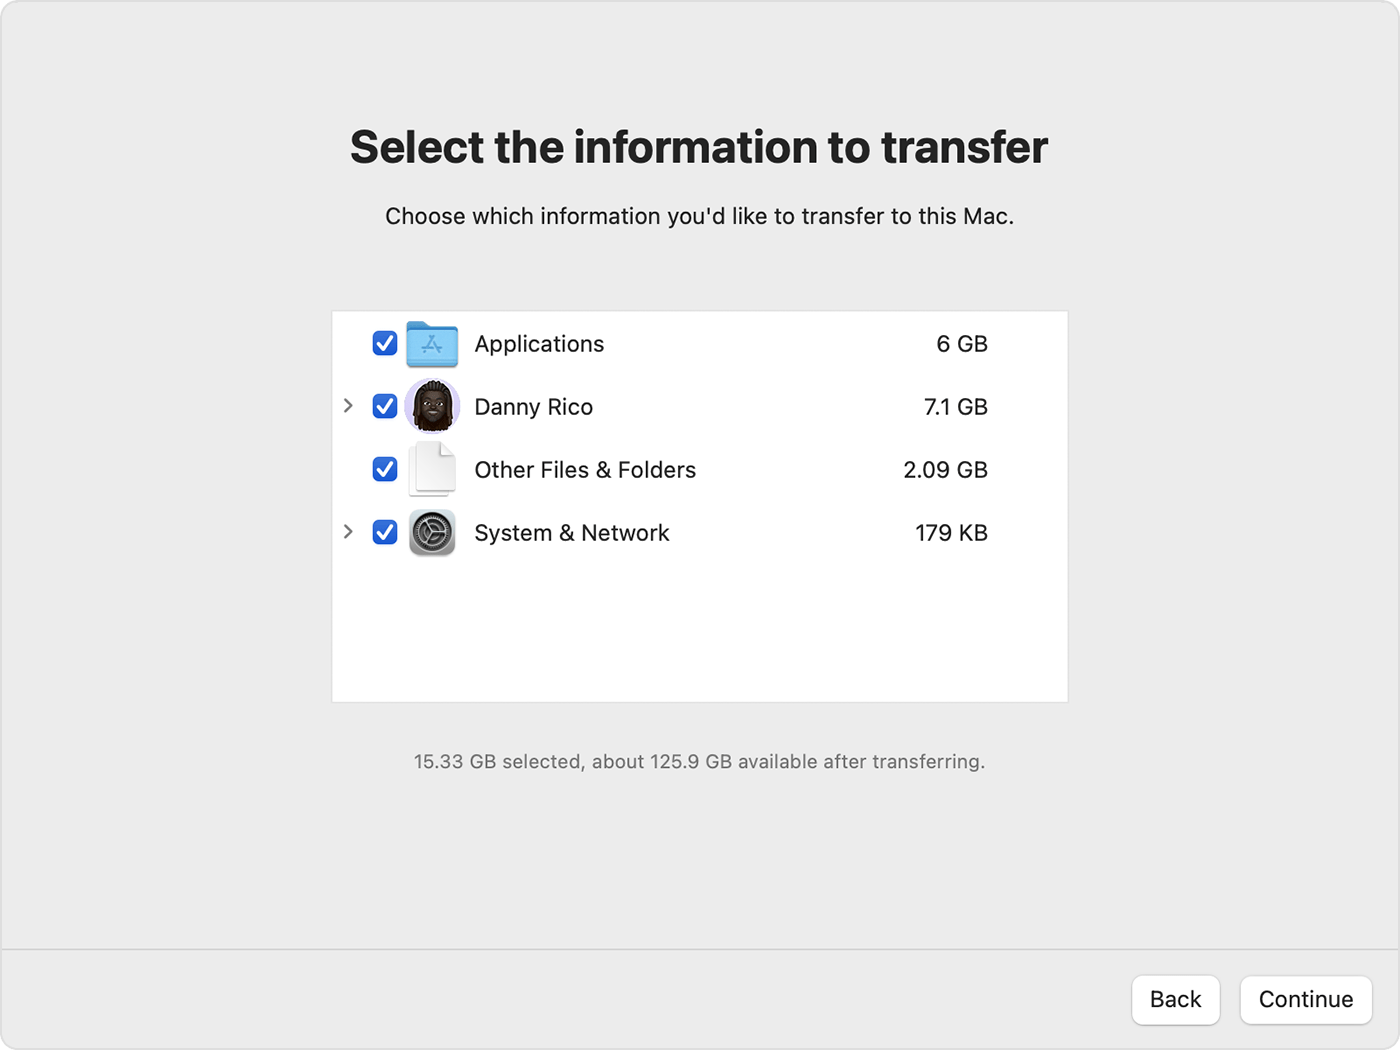
Step 10. On your MacBook Pro, you'll see a list of items you can transfer, such as applications, user profiles, files, folders, and settings. Select the items you want to migrate by checking the appropriate boxes.
Step 11. Click Continue to begin the transfer process. Depending on the amount of data and the speed of your internet connection, this may take several hours. It's a good idea to let the process run overnight if you have a large amount of data to transfer.
If you're only transferring specific files, AirDrop can help you do so quickly and wirelessly between the two Macs.
Steps to transfer data from MacBook Air to MacBook Pro using AirDrop:
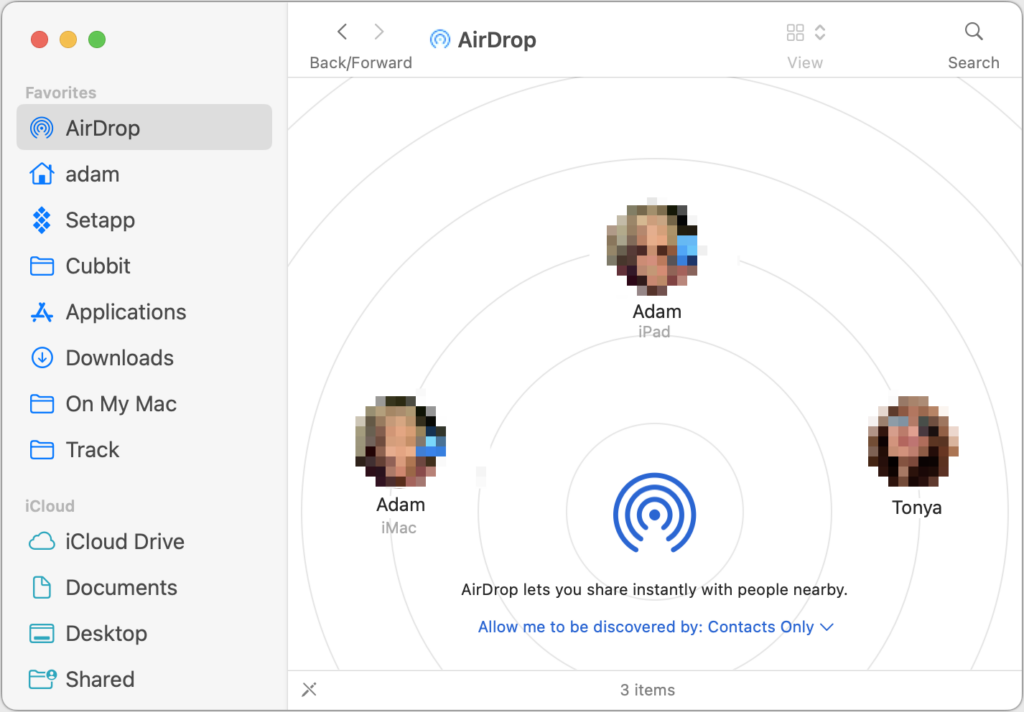
Step 1. Make sure AirDrop is enabled on both MacBook Air and MacBook Pro. Open "Finder" and go to "AirDrop" in the sidebar.
Step 2. On the MacBook Air, select the files you want to send and drag them into the AirDrop window.
Step 3. Choose your MacBook Pro as the recipient. Once the files arrive, save them to your desired location.
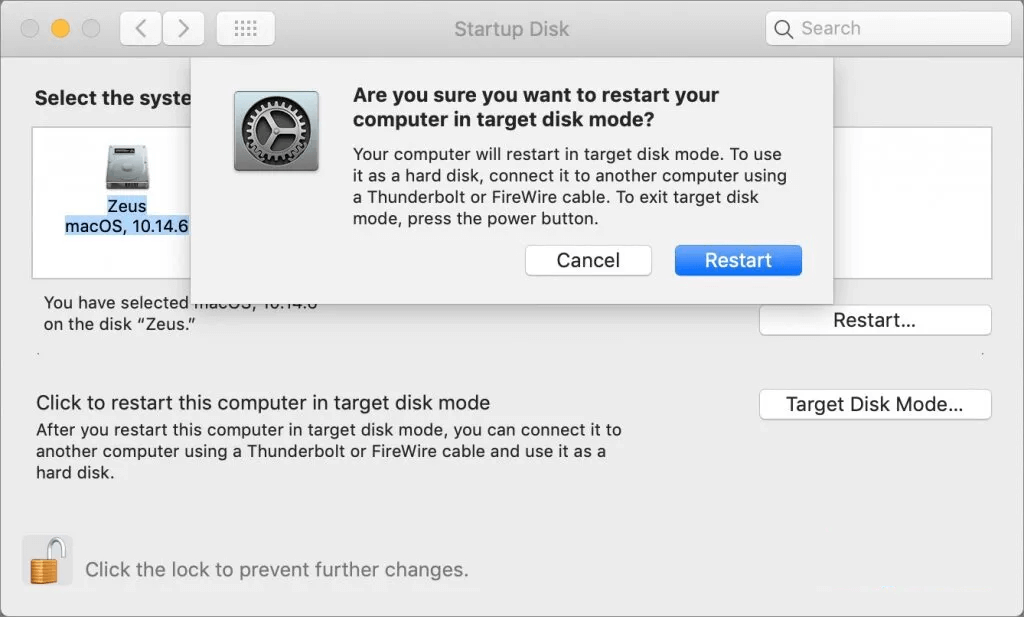
Target Disk Mode requires the two Macs to be near each other. While it doesn't rely on a Wi-Fi connection, it uses a Thunderbolt cable to enable the transfer. This method allows one Mac to function as an external drive for the other, simplifying file transfer. If either Mac is running macOS 11 or later, you'll need a Thunderbolt cable. Be sure to check the ports on your Macs and use an adapter if necessary.
Step 1. Connect your Macs using a USB, USB-C, or Thunderbolt cable. The process differs slightly depending on whether your external Mac has an Intel or Apple silicon (M1, M2, or M3) chip. You can find out what chip your Mac uses by going to Apple Menu > About This Mac.
Step 2. Now, reboot the Mac that will act as the external disk:
Step 3. The file transfer steps depend on your external Mac's chip:
Step 4. After transferring files, disconnect the Macs:
When the two Macs are located remotely over the Internet, you'll need methods that enable you to transfer data between the MacBook Air and MacBook Pro remotely. Here are the top four ways.
If your MacBook Air and MacBook Pro are not on the same local network, AnyViewer is an excellent tool for transferring data between them. This powerful remote access software allows seamless control over your Mac from another device and ensures secure file transfers over the internet.
Why Choose AnyViewer?
How to transfer data from MacBook Air to MacBook Pro using AnyViewer:
Step 1. Download and install AnyViewer on both the MacBook Air and MacBook Pro.
Step 2. Sign up for a free AnyViewer account, or use the software without an account for limited features.
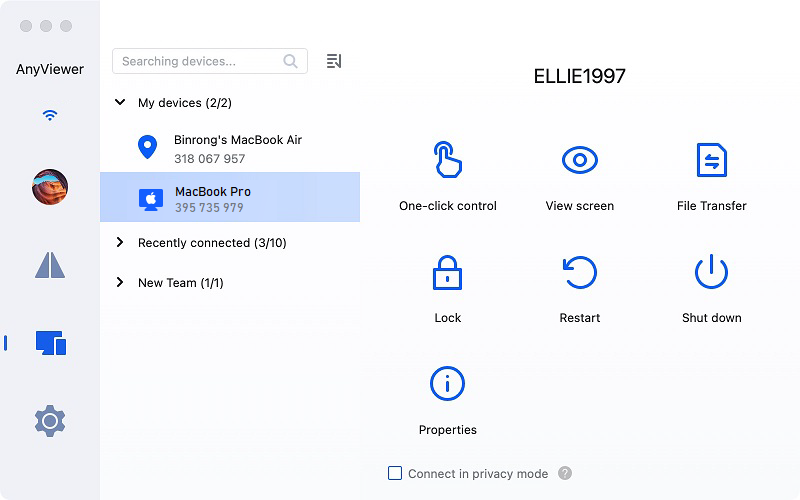
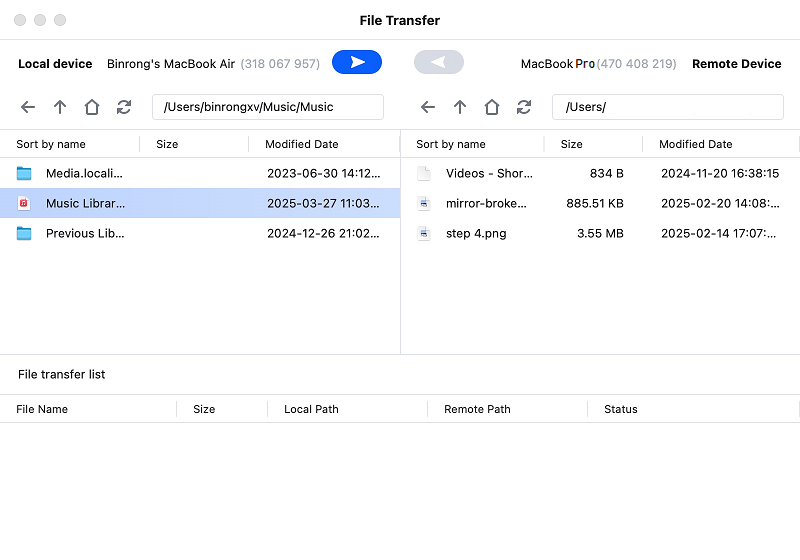
Step 3. On the MacBook Air, log in to AnyViewer and select the MacBook Pro you want to transfer files to.
Step 4. Once connected, you can easily transfer files between the two Macs.
Upgrading to an AnyViewer Professional or Enterprise plan can enhance your experience with faster transfer speeds and improved performance. These premium plans offer several advantages:
For Mac users, file sharing can be done through the Finder app. This is particularly useful when you need to share files between Macs or with other computers on the same network.
Steps to transfer files using File Sharing:
Step 1. Open System Settings from the Apple menu on both Macs.
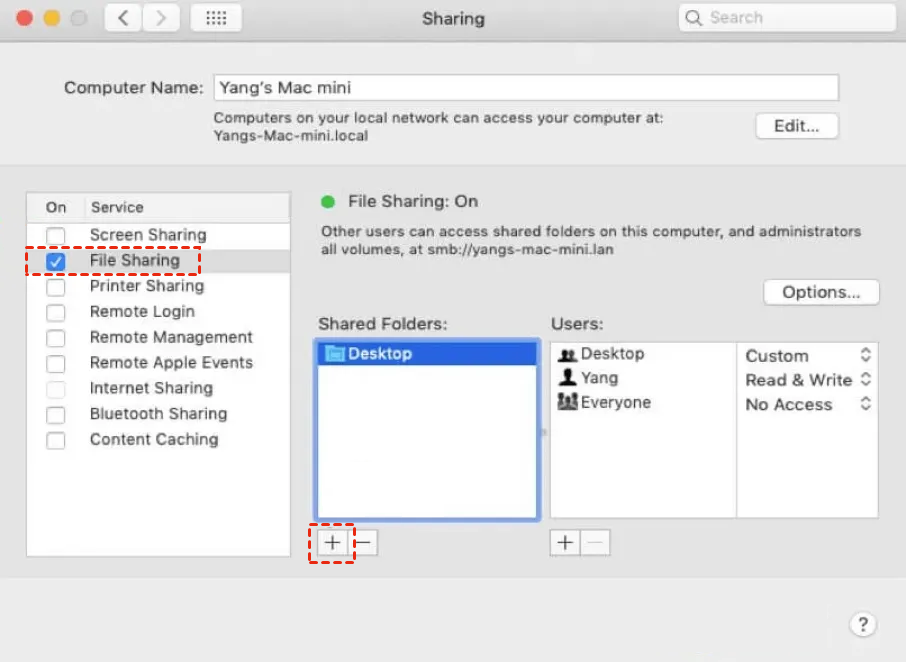
Step 2. Go to General > Sharing and toggle File Sharing to "On" on both Macs.
Step 3. Click the i next to File Sharing to adjust settings.
Step 4. Add or remove folders in the Shared Folders section using the + and - buttons.
Step 5. Set Read & Write permissions for users in the Users section.
Step 6. To allow guest access, right-click the folder to share, select Advanced Options, and toggle Allow guest users on.
Step 7. Ensure both Macs are connected to the same network.
Step 8. Open Finder on one Mac and locate the other Mac under the Locations section in the left sidebar.
Step 9. If not visible, click Go > Connect to Server…, enter the network address, and click Connect.
Step 10. Choose Connect As and select whether to connect as a Guest, Registered User, or Using an Apple ID.
Step 11. Enter a username and password if required.
Step 12. Once connected, select the shared folder and begin transferring files between the two Macs.
If both of your Macs are signed into the same Apple ID account, iCloud Drive makes it easy to sync and share files across all Apple devices. Here's how you can use iCloud Drive to transfer files between two Macs:
Step 1. Start by opening System Settings on your Mac. You can do this by clicking on the Apple menu at the top left of your screen and selecting System Settings.
Step 2. In the top left corner of the System Settings menu, click on your Apple ID name and user icon. If you're not already logged in, log in now.
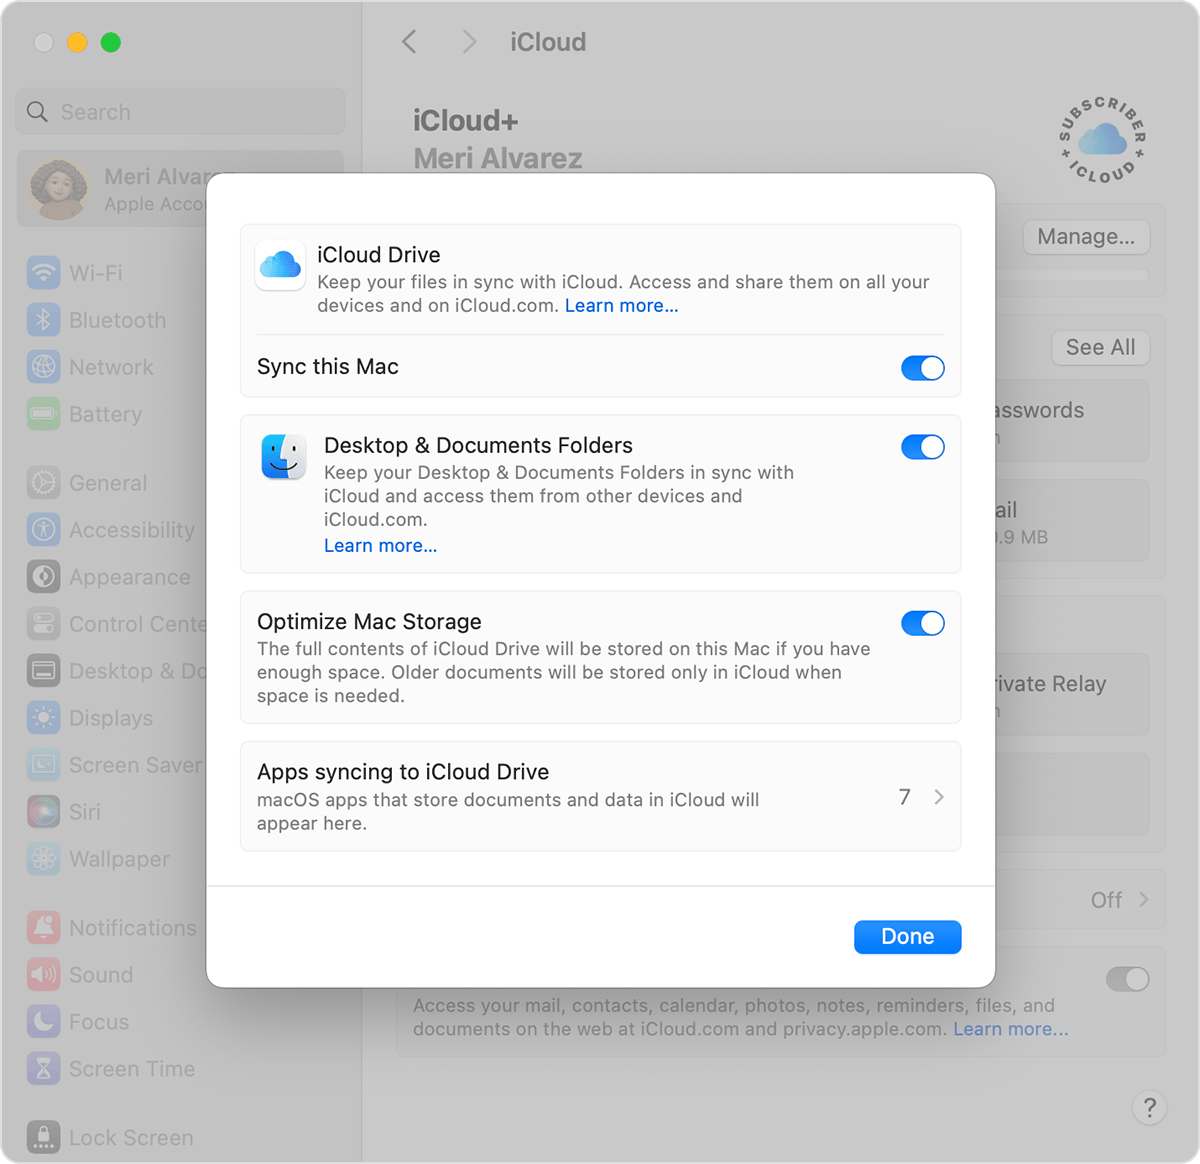
Step 3. Under the Apps using iCloud header, click on iCloud Drive.
Step 4. Toggle on Sync this Mac. This will allow your files to sync with iCloud Drive, making them accessible on all Apple devices linked to the same Apple ID.
Step 5. Toggle on Desktop & Documents Folders. This will automatically sync your Desktop and Documents folders across all Apple devices connected to the same Apple ID. Click Done to save your settings. If you want to share images across devices as well, make sure Photos is set to On under Apps using iCloud.
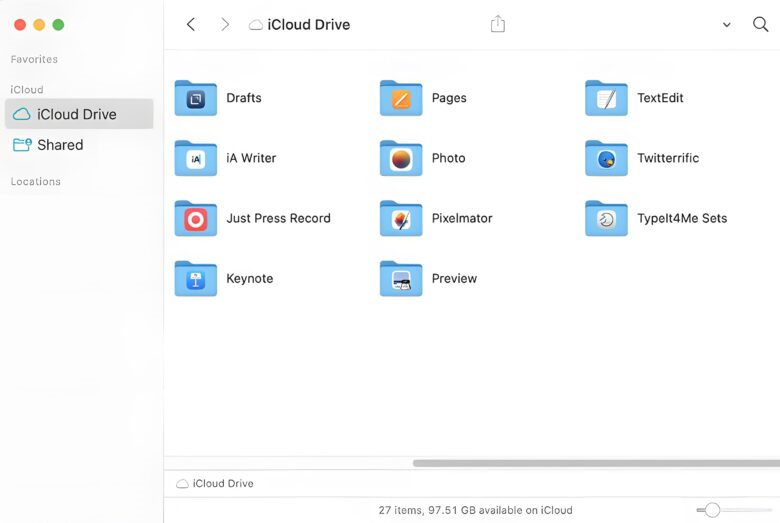
Step 6. On another Mac sign in the same Apple ID, open Finder, and then click iCloud Drive in the left sidebar. You can select and copy any file from your iCloud Drive folder to another location on your Mac.
Step 7. To share files with other users, go to [iCloud.com](https://www.icloud.com/) and sign in. Select Drive, then find the file or folder you want to share. Click the ••• button, select Collaborate with Others…, and choose your preferred method of sharing, such as sending an email or copying a link to share.
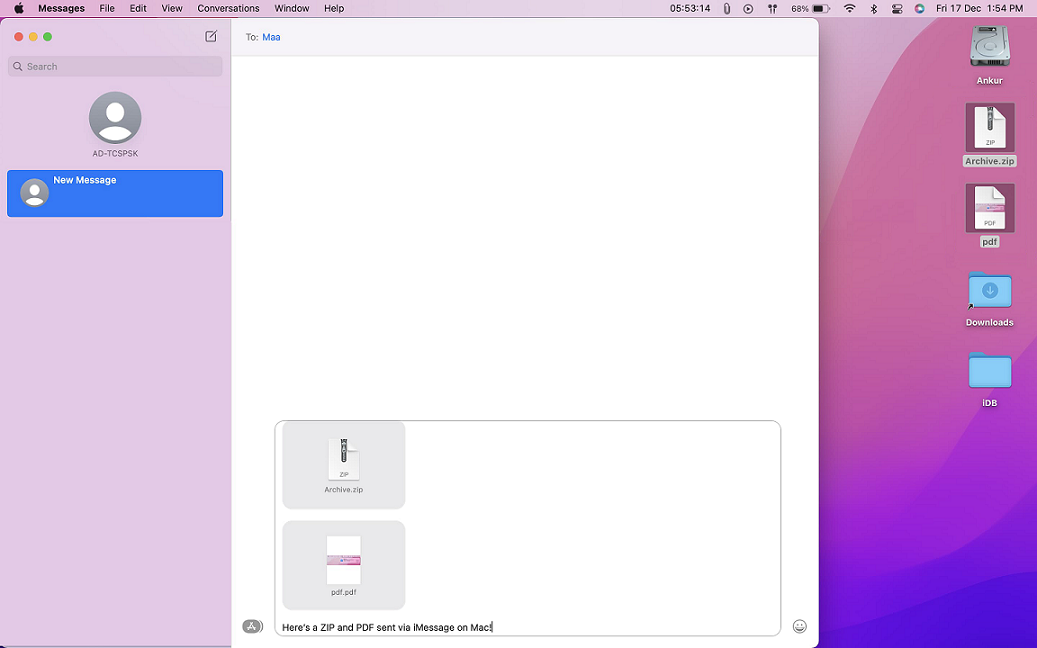
If you're transferring smaller files, using email or messaging apps like iMessage, WhatsApp, or Slack can be a quick and easy solution.
Step 1. Open your email or messaging app and attach the file you want to transfer.
Step 2. Send the email or message to yourself and then download the attachment on your new Mac.
This method works best for smaller files and offers a simple way to move files without needing specialized software.
In conclusion, if you're wondering how to transfer data from MacBook Air to MacBook Pro, AnyViewer offers a seamless and secure solution. This powerful remote access software allows you to transfer files easily between the two devices over the internet, ensuring fast and safe transfers. With its simple setup, cross-platform compatibility, and secure file transfer features, AnyViewer makes the process of moving data effortless.