How to Share and Present Content in a Remote Classroom?
Sharing and presenting content effectively in a remote classroom is essential for both teachers and students. This article provides a step-by-step guide, helping you participate in remote classes.
By Gia / Updated on June 17, 2025
What Do Remote Classes Mean?
Remote classes, also known as online or virtual classes, are lessons that happen over the internet instead of in a regular classroom. Rather than gathering in the same physical space, teachers and students participate from different locations using laptops, tablets, or smartphones.
To make this possible, teachers rely on various platforms that allow them to share content and present lessons efficiently. These tools enable educators to:
✔️ Share files easily across devices.
✔️ Present slides, videos, or other materials through screen sharing.
✔️ Remotely access students’ devices to provide real-time demonstrations
How to Share and Present Your Work in a Remote Classroom?
While remote classes offer flexibility and convenience, they can also come with some challenges. Sometimes, network delays or software limitations can make lessons less interactive. That’s why choosing a reliable teaching tool is essential.
One excellent option is AnyViewer, a free and secure remote desktop software that meets all the needs for a remote class. Whether you’re a student or a teacher, AnyViewer makes it easier to communicate, share, and collaborate effectively.
Share Files with Students
In a remote learning environment, it’s essential to send documents, assignments, and resources to students. AnyViewer allows you to share files across devices, making it easier for everyone to access important materials without hassle. Here’s how to share various files with others using AnyViewer:
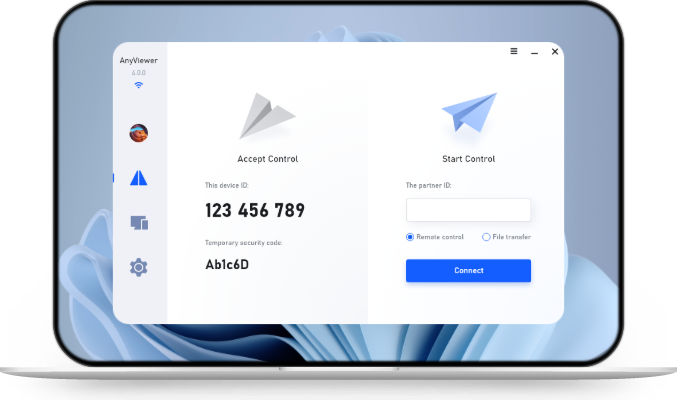
Step 1. Download and install AnyViewer.
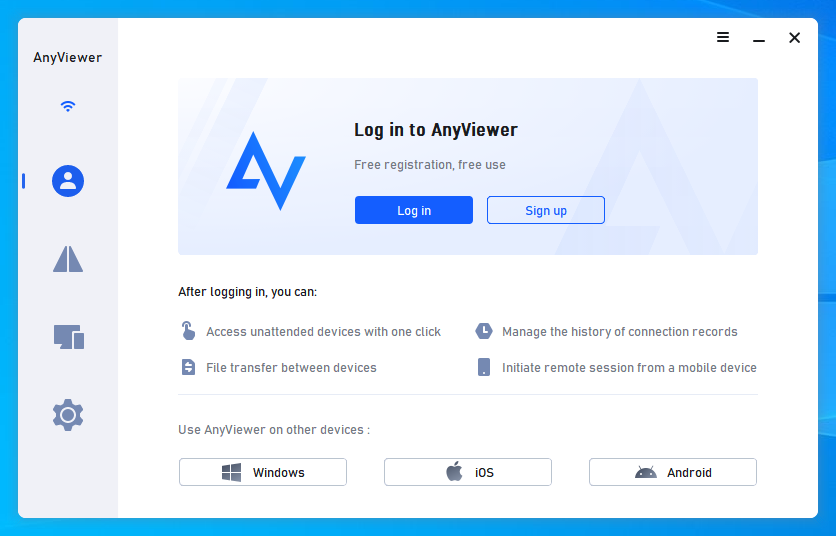
Step 2. Create a new account and and share the login details with your students.
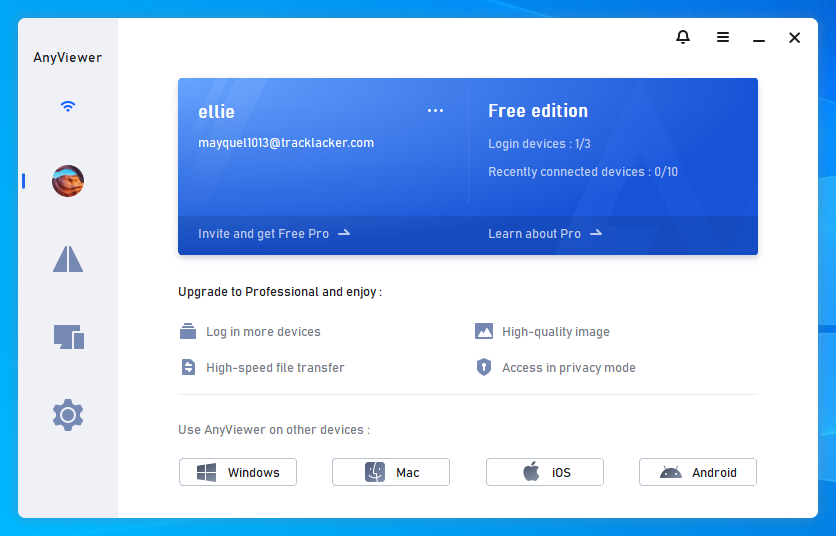
Step 3. Log in to the same account on the teacher’s device.
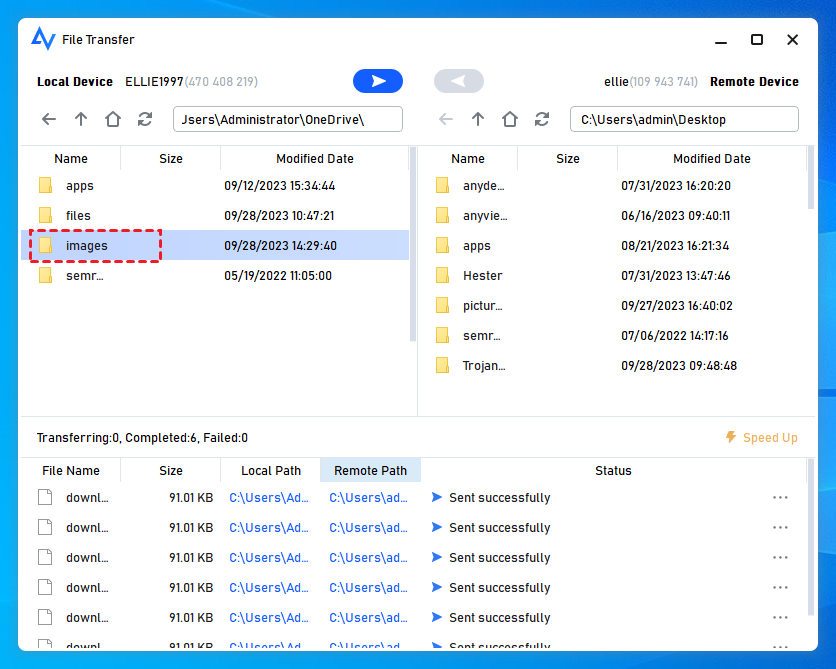
Step 4. Go to the "Device" section, locate the remote devices you want to connect to, and click on "File transfer" to start sharing.
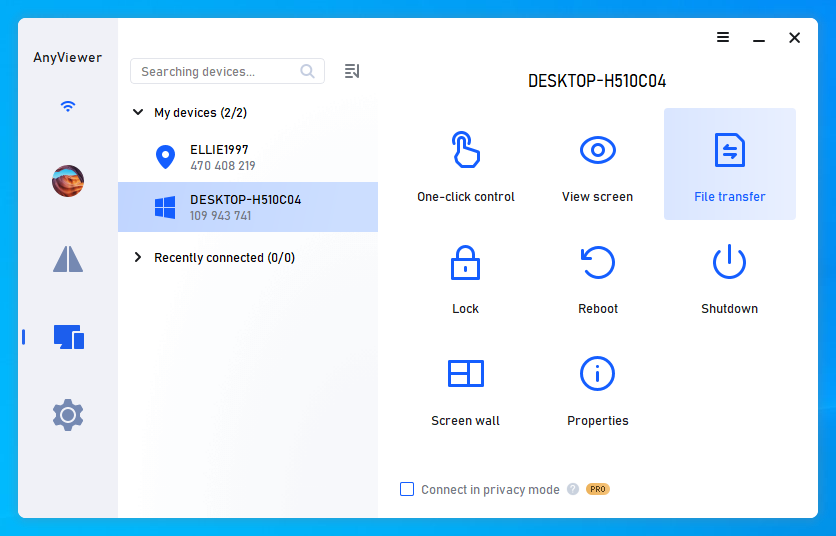
Once connected, select the files you want to send and transfer them to the desired device.
Share and Present Your Screen in a Remote Classroom
Sometimes, visual aids like slides and videos help make lessons more engaging and easier to understand. AnyViewer is one of the best tools for remote classroom presentation. Follow these steps to share your screen with students.
Step 1. Log in to the same account on both the teacher’s and students’ devices.
Step 2. On a student's computer, go to the "Device" section, locate the teacher's devices, and click on "View screen".

Step 3. Then, students can be able to see the teacher’s screen in real time. While remote control is not enabled in this mode, students can still perform other functions like changing screen resolution or transferring files.
Remotely Access Other Devices
Sometimes, students need step-by-step guidance to understand a concept. With AnyViewer, teachers can remotely access a student’s device and demonstrate solutions directly on their screen. Here's how to remotely access and control students' devices:
Step 1. Log in to the same account as before.
Step 2. On the teacher’s device, go to the “Device” tab, find the student’s computer, and click “One-click control.”
Step 3. You’ll now be able to control the student’s device remotely and assist them directly.
💥 Tips: AnyViewer is compatible with Windows, macOS, iOS, and Android. You can access PCs from mobile devices or vice versa. For managing multiple devices and enjoying enhanced image quality, it is advised to upgrade to a Professional or Enterprise plan.
Final Words
Understanding how to share and present your work effectively is key to a successful remote classroom experience. Using tools like AnyViewer can improve your teaching experience and make your presentations more professional. Whether you're attending your online class or preparing for a project presentation, these methods and tips in this guide will help you succeed.
