Sharing folders from Windows to Mac is simple with the right methods. This guide explains five easy ways to transfer files, from using AnyViewer for remote transfers to file sharing and email. Find the best solution for your needs and enjoy smooth file transfers.
Transferring files between devices is a common task, especially when switching from Windows to Mac. If you're unsure how to easily move your files from one platform to the other, this guide will provide clear and effective methods to make the process as smooth as possible.
Here are five reliable methods to share folders between your Windows and Mac devices.
AnyViewer is a powerful remote desktop tool that offers secure and smooth file transfers between Windows and Mac devices over the internet. It's perfect for remote work situations where the devices aren't on the same local network.
When to use AnyViewer:
How to share folders between Windows and Mac using AnyViewer:
Step 1. Download and install AnyViewer on both your Windows and Mac devices.
Step 2. Create an AnyViewer account or log into an existing one.
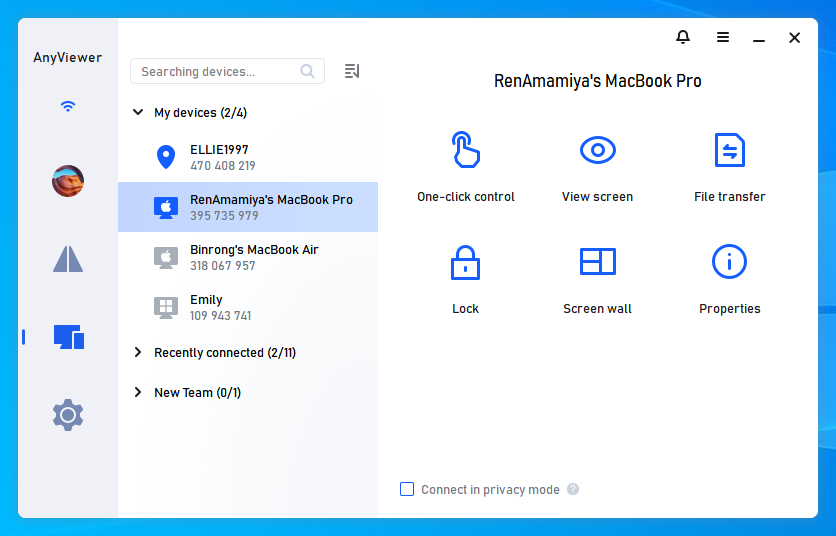
Step 3. Open AnyViewer on your Windows device, go to the "Device" tab, and select your Mac from the "My Devices" list. Click "File Transfer" to launch the file manager.
Alternatively, for unattended access, select "One-click Control" to connect to your Mac remotely. Then, use the file transfer manager within the remote session.
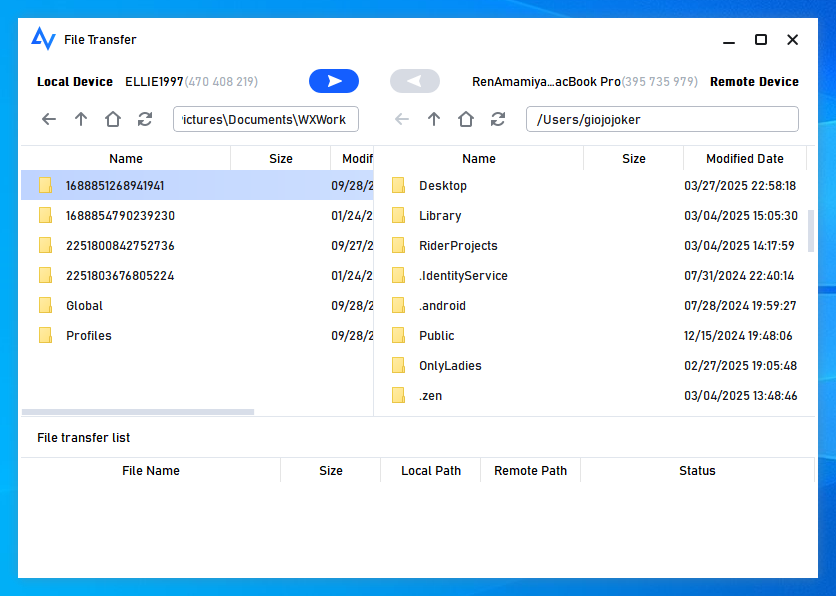
Step 4. In the file transfer manager, select the files you want to transfer and click the arrow to start the transfer. You can either share folders from Windows to Mac or vice versa.
Migration Assistant helps you seamlessly transfer data like contacts, emails, and calendars from Windows to Mac by automatically organizing everything into the right locations.
When to use Migration Assistant:
Steps to migrate data from Windows to Mac using Migration Assistant:
Step 1. Download and install Windows Migration Assistant on your Windows device.
Step 2. On your Mac, open Migration Assistant (found under Applications > Utilities or via Spotlight).
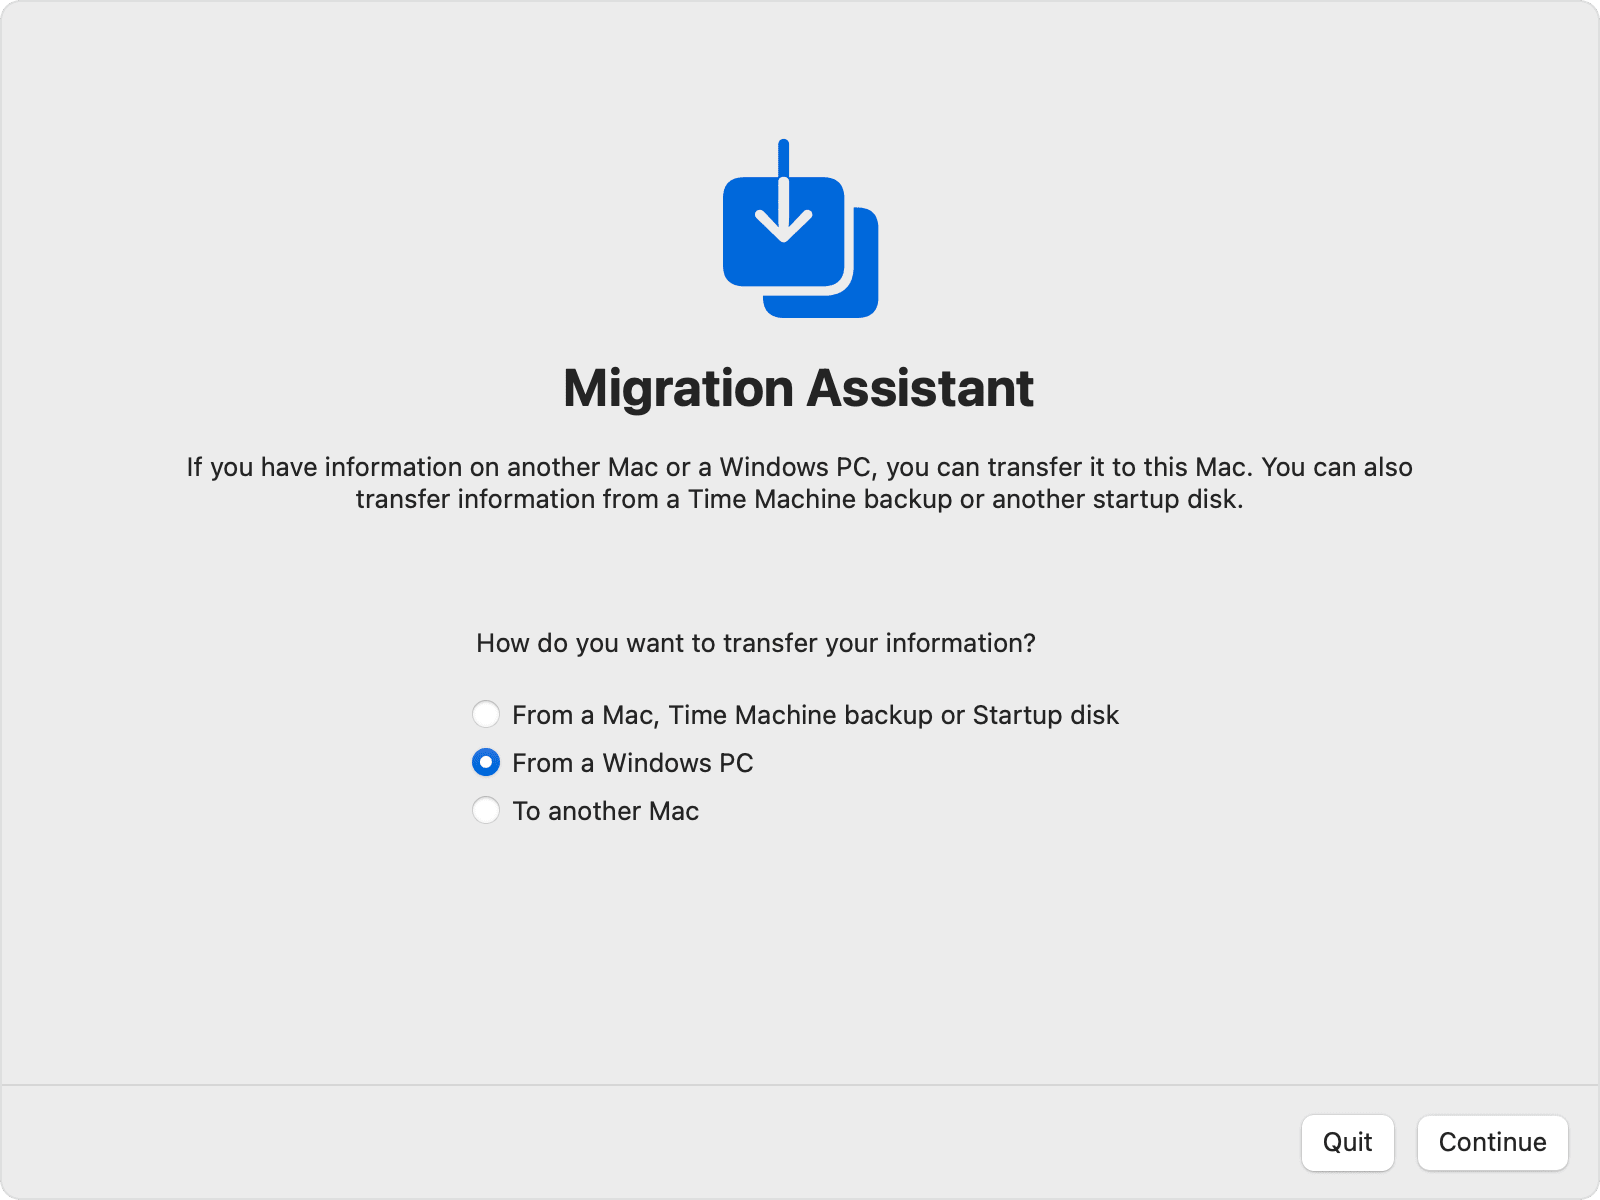
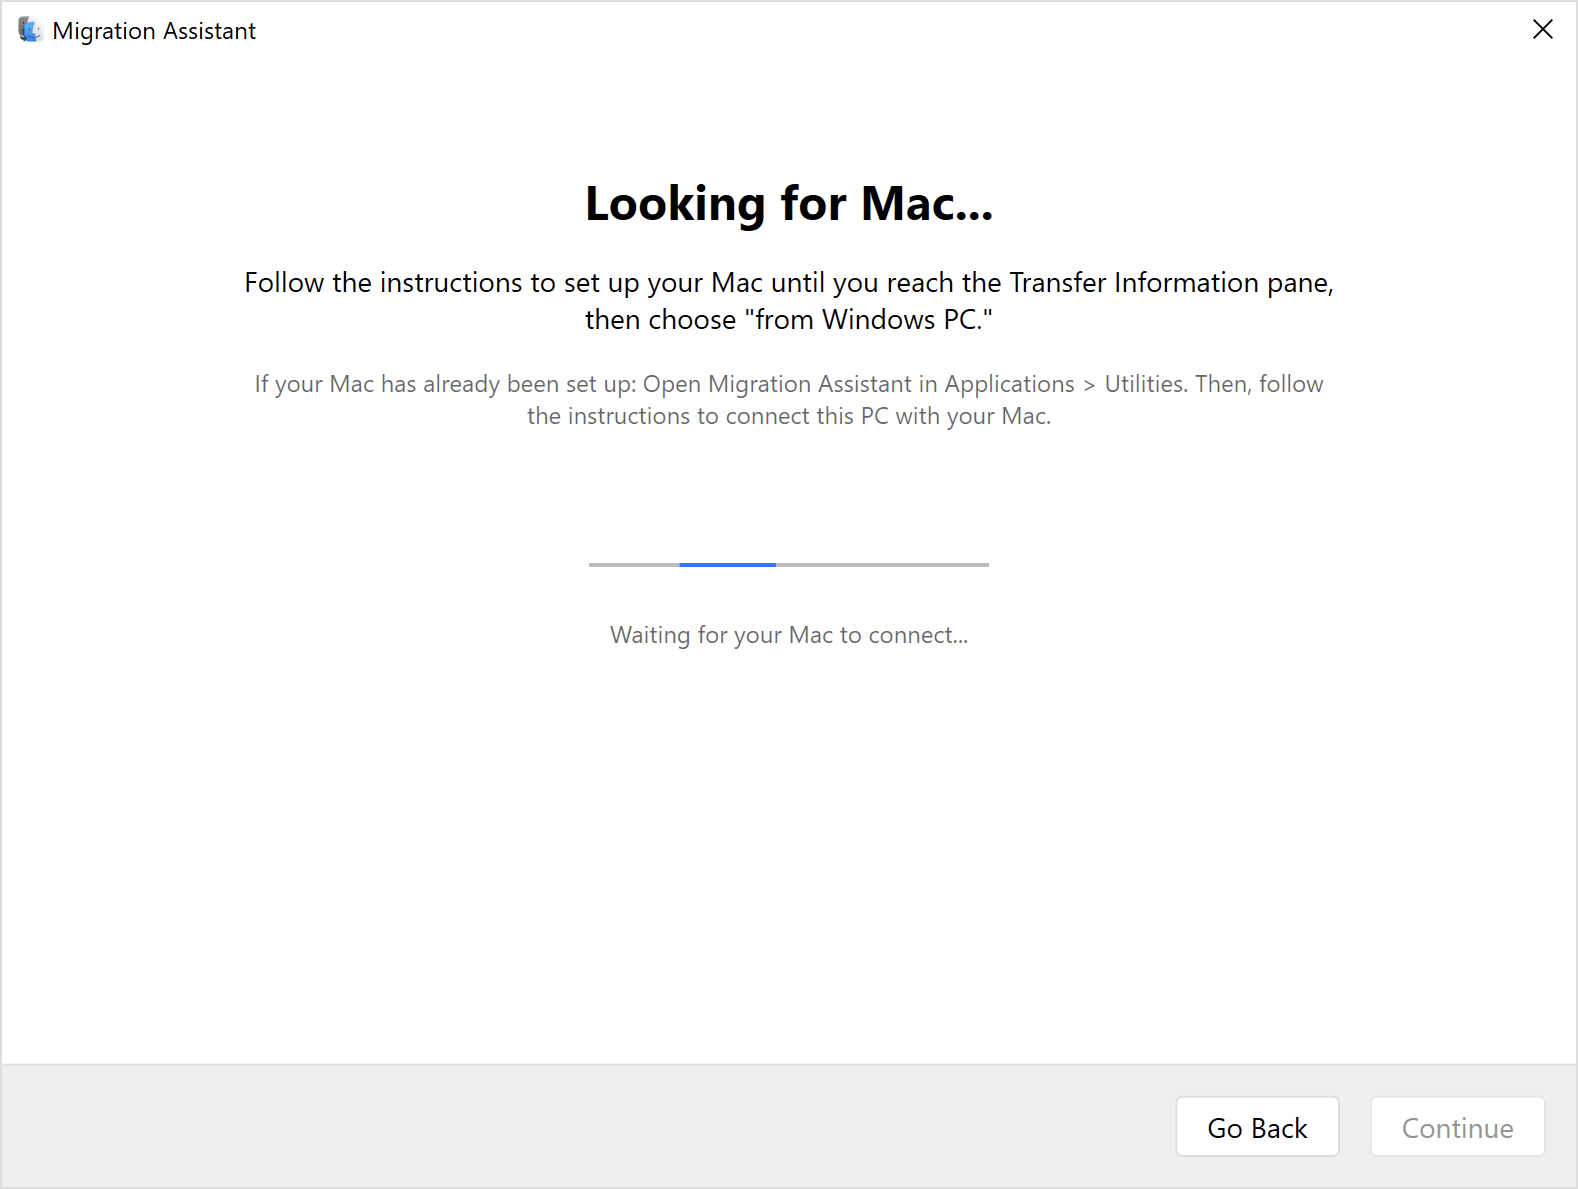
Step 3. Follow the on-screen instructions, choose "From a Windows PC" and click Continue.
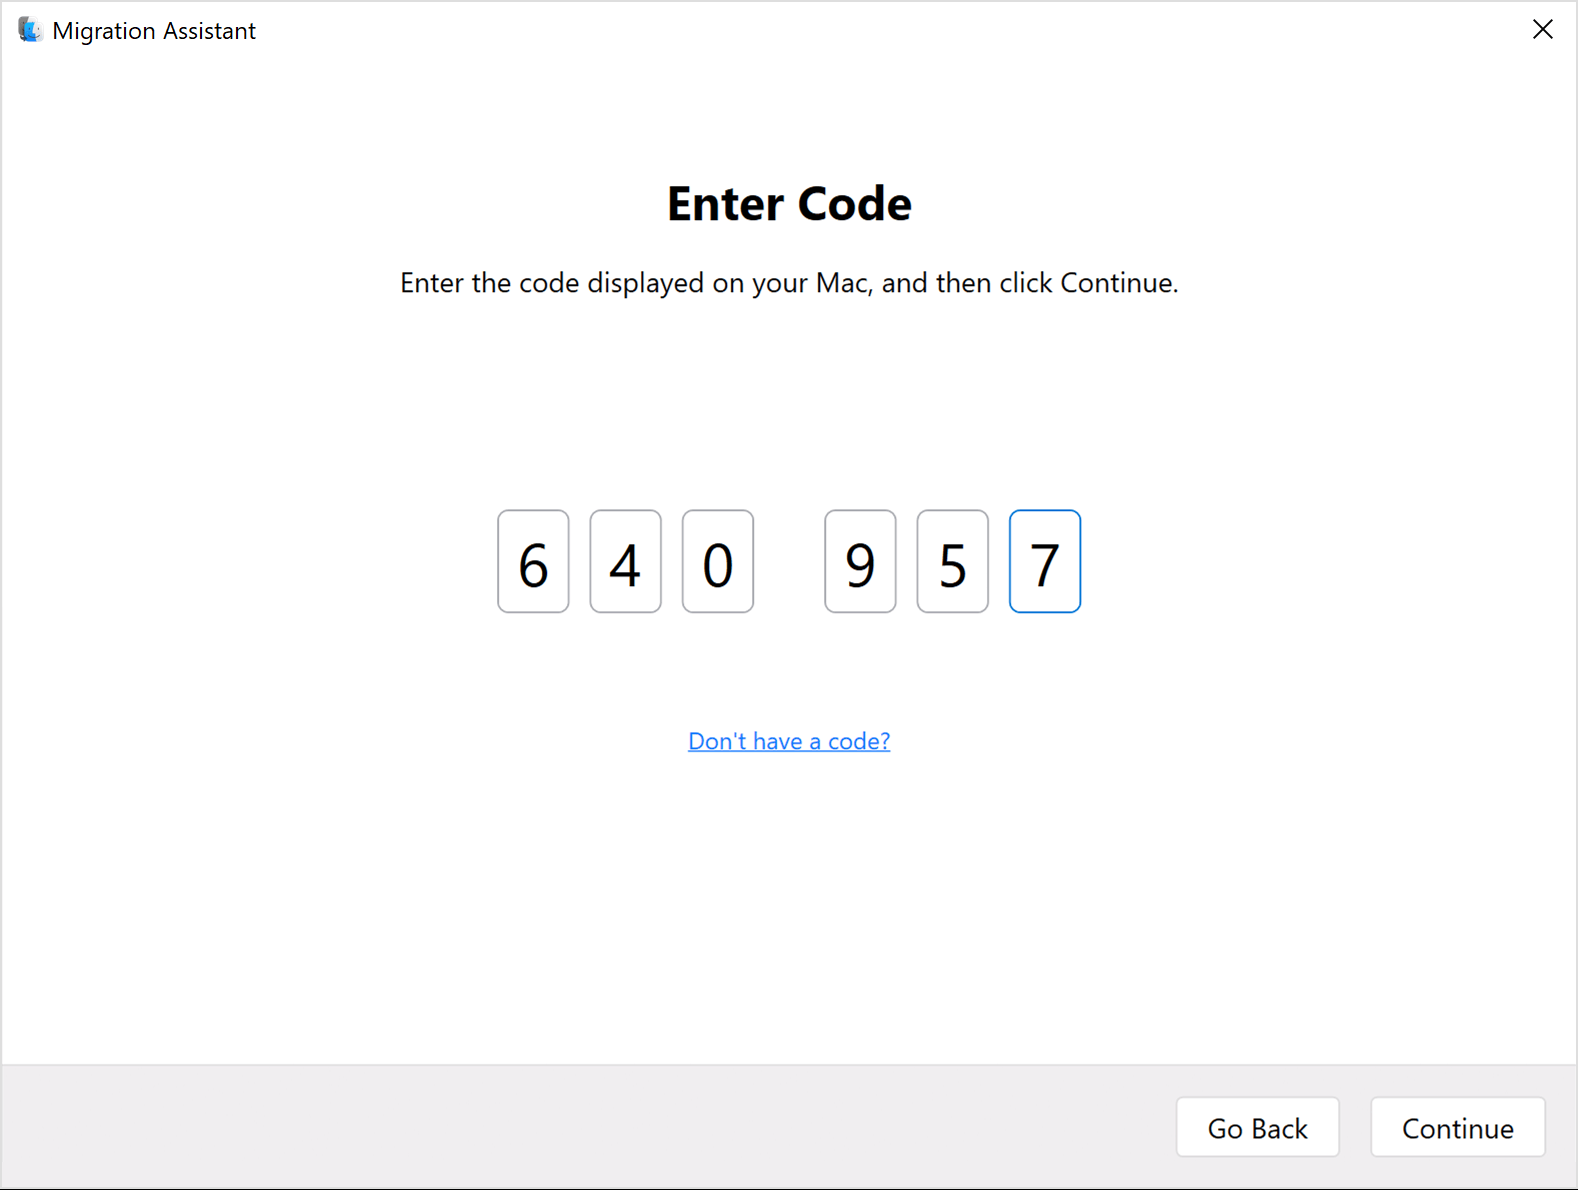
Step 4. Your Mac will show a code—enter it on your Windows device.
Step 5. After connecting, Migration Assistant will catalog your files (this may take a few minutes).
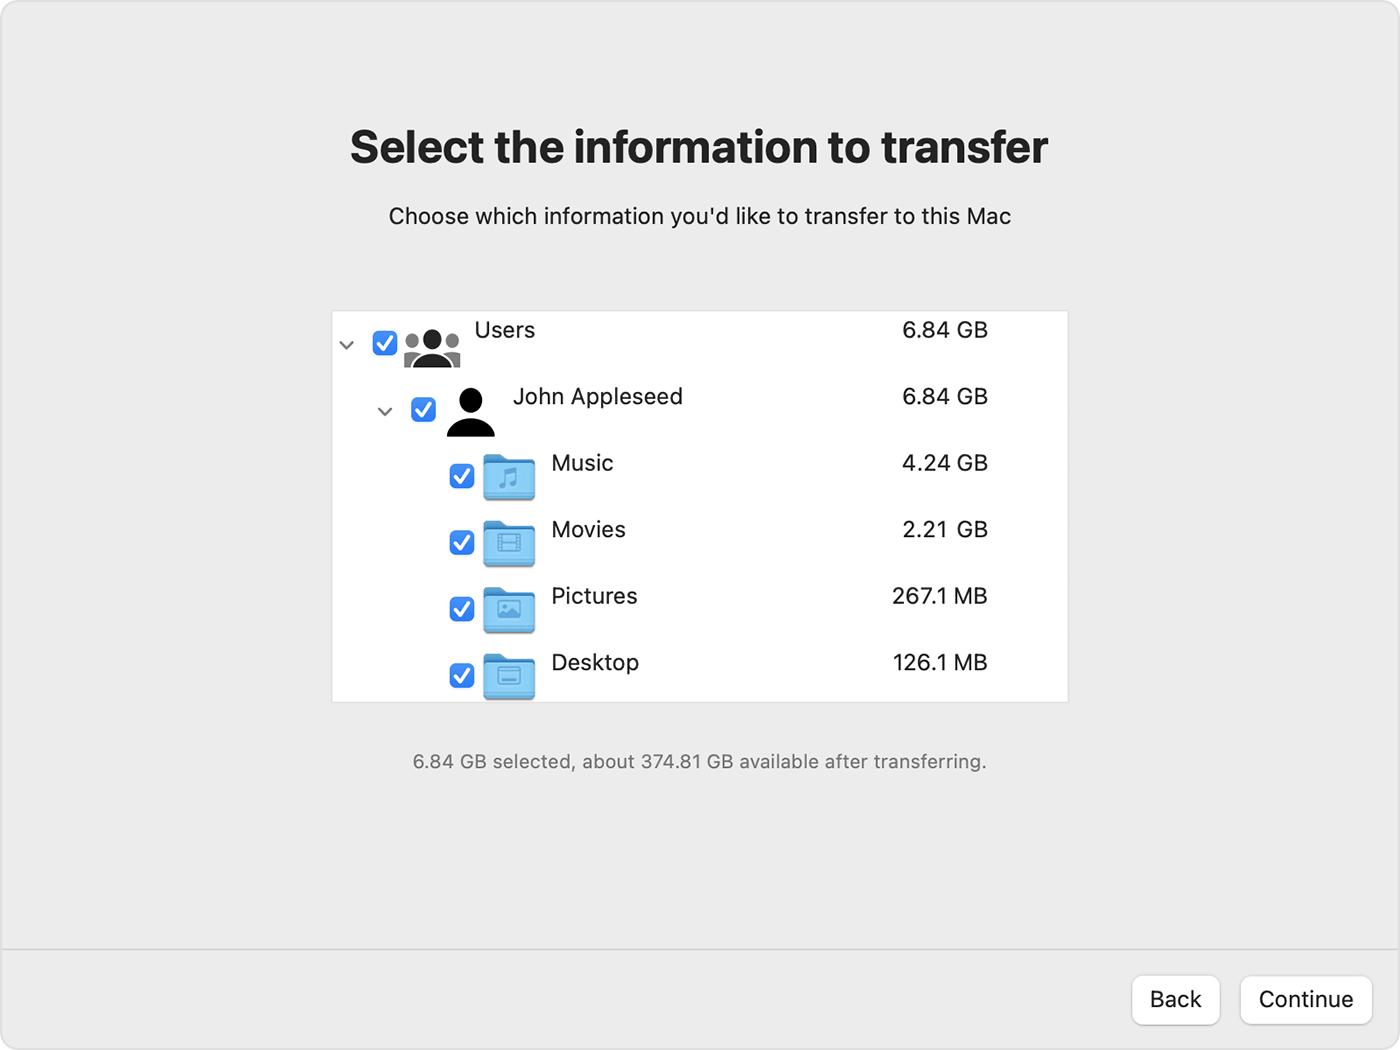
Step 6. Select the files you want to transfer and click Continue. Large files may take time to transfer.
Step 7. Once done, log into your Mac account to access the transferred files.
Step 8. Before using Apple services, authorize your Mac for purchases.
If both devices are connected to the same network, setting up file sharing on your Mac allows quick and easy file transfers without additional software.
When to use File Sharing:
Setup file sharing on your Mac:
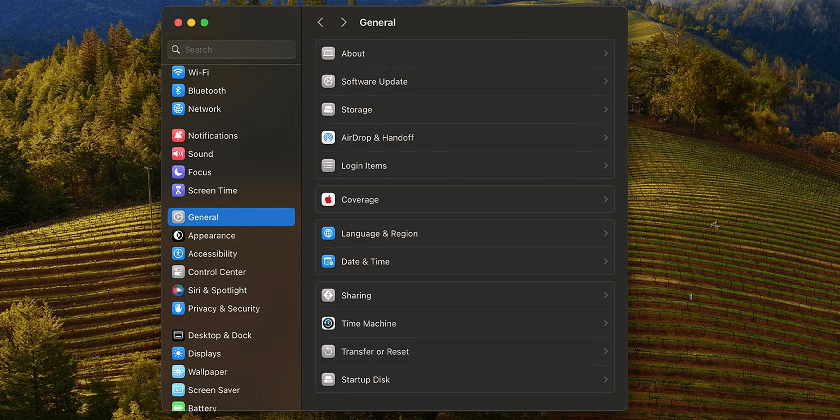
Step 1. Open System Preferences > Sharing and enable File Sharing.
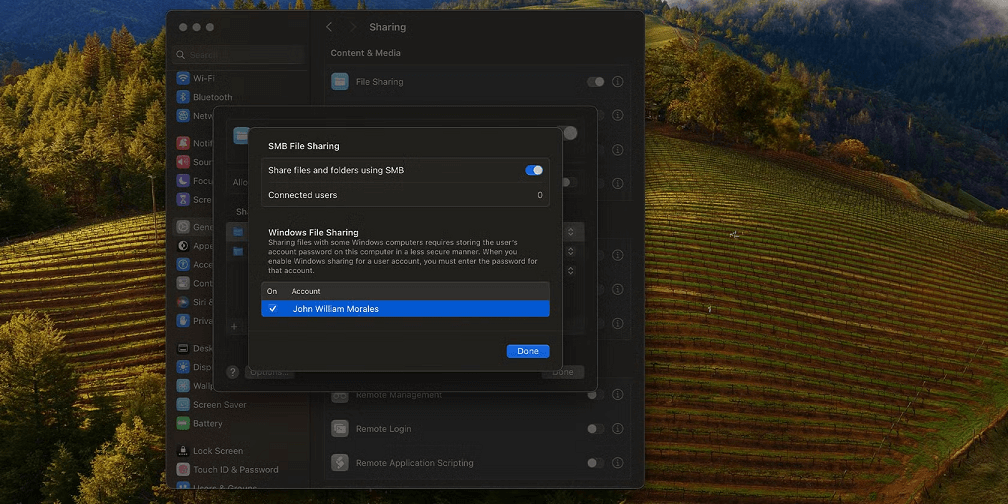
Step 2. Click the Information icon next to File Sharing and select Options to open the SMB File Sharing window.
Step 3. Enable "Share files and folders using SMB" and select the user account to share files.
Step 4. Enter the user’s password and click OK.
Step 5. Note the IP address shown under “File Sharing: On”.
Access shared folder from Windows to Mac:
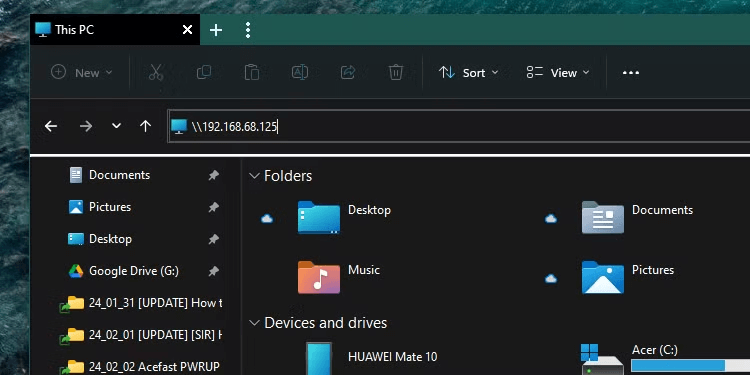
Step 1. Open File Explorer on your Windows PC and type the Mac’s IP address (e.g., \\192.168.x.x).
Step 2. Enter the Mac account credentials when prompted.
Step 3. You’ll now have access to the shared folders. Copy the files as needed.
Email is a convenient method for transferring small files, such as documents or images. However, it’s not ideal for larger files due to attachment size limits.
When to use email:
Steps to transfer small files quickly from Windows to Mac using email:
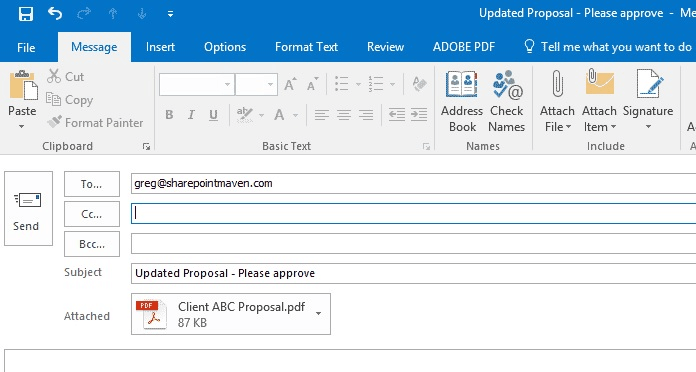
Step 1. Open your preferred email client (Outlook, Gmail, etc.) on your Windows device.
Step 2. Compose a new email and attach the files you want to send.
Step 3. Send the email to yourself or another address you can access on your Mac.
Step 4. On your Mac, open the email and download the attachments.
Step 5. Save the files to a desired location on your Mac for easy access.
Using an external hard drive or USB drive is a straightforward way to transfer large files without needing an internet connection.
When to use an external drive:
Steps to share folder from PC to Mac without network access using an external drive:
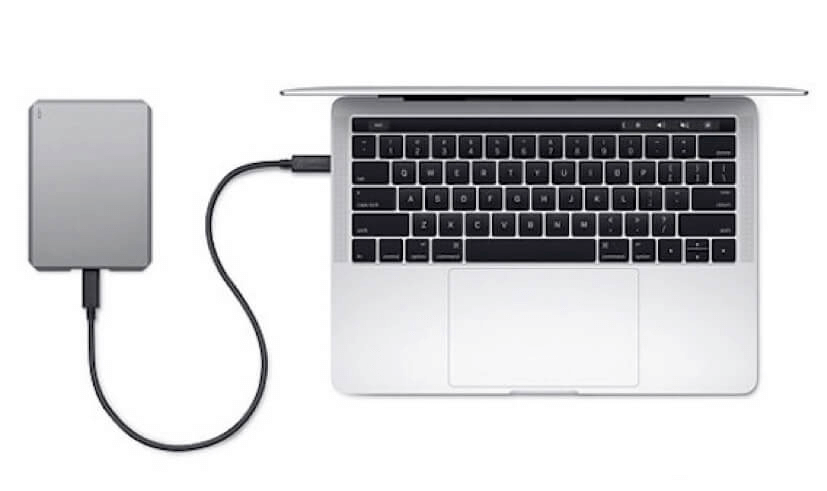
Step 1. Connect the external drive to your Windows device and copy the files you want to transfer.
Step 2. Safely eject the drive and connect it to your Mac.
Step 3. The external drive should appear on your Mac’s desktop or in Finder.
Step 4. Simply drag and drop the files to your Mac's desired location.
Sharing folders between Windows and Mac doesn't have to be complicated. Whether you use AnyViewer for seamless remote transfers, Migration Assistant for an automated approach, or simpler methods like file sharing or email, each option has its advantages. By choosing the best method for your needs, you can ensure a smooth, fast, and secure file transfer experience.